Start 3D Creation
After opening the BuildVr Website, click the Start Now button to start your 3D creation.

Select Environment
In the side panel, under the "Select Environment Model" heading click on a card, then select an environment and use it in your 3D creation.
.png)
Select Characters
In the side panel, go to "Add Ons" and click on "Avatars" to select a character and use it in your 3D creation.

Select Props
In the side panel, under the "Select Add-ons" heading, click on "Props" to select a prop and use it in your 3D creation.

Add Video to Scene
On the side panel, navigate to "Uploads" and select "Video" to add it to the scene.

Add Lights to Scene
On the Side Bar, click on "Add Light" to configure lights and add it in your scene.

Add Background Image / Colour
In the side panel, click on "Uploads" and select "Background Image" to acquire a skybox for your scene.

Alternatively, choose "Background Colour" to add color to your background scene.

Add Music to Scene
In the side panel, under the "Media" heading, click on "Music" to select music and integrate it into your 3D creation.

Changing Textures of surfaces
On the sidebar, click on "Custom", then select "Surface Texture Configurator", and apply various textures to your scene.

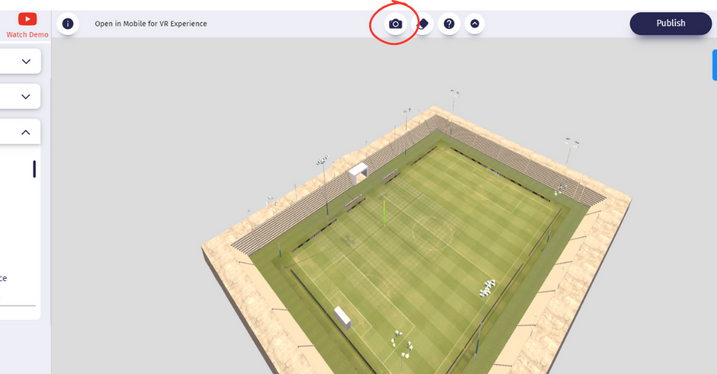
Taking Pictures of the scene
On the Top Bar, click on "Camera" to download the picture of your scene.
Saving the scene
On the Top Bar, click on "Publish" then add details to save and publish your scene.

Creating Webpage with multiple 3d scenes
In the side panel, under the "Select VR/3D Space" heading click on "Website" to create a 3D website.

Viewing and editing saved scenes
In the side panel, click on "MyVR", then select the saved scene to edit or view.

Customize the Model size and position
in the side panel, click on "Custom" then select the model and change the scale, position and rotaion of the model.